Beauty Product Photography: Glass, Texture and True Colour
Beauty product photography made practical: the shots a listing needs, how to light glass and cream, and how to keep shade colours true.
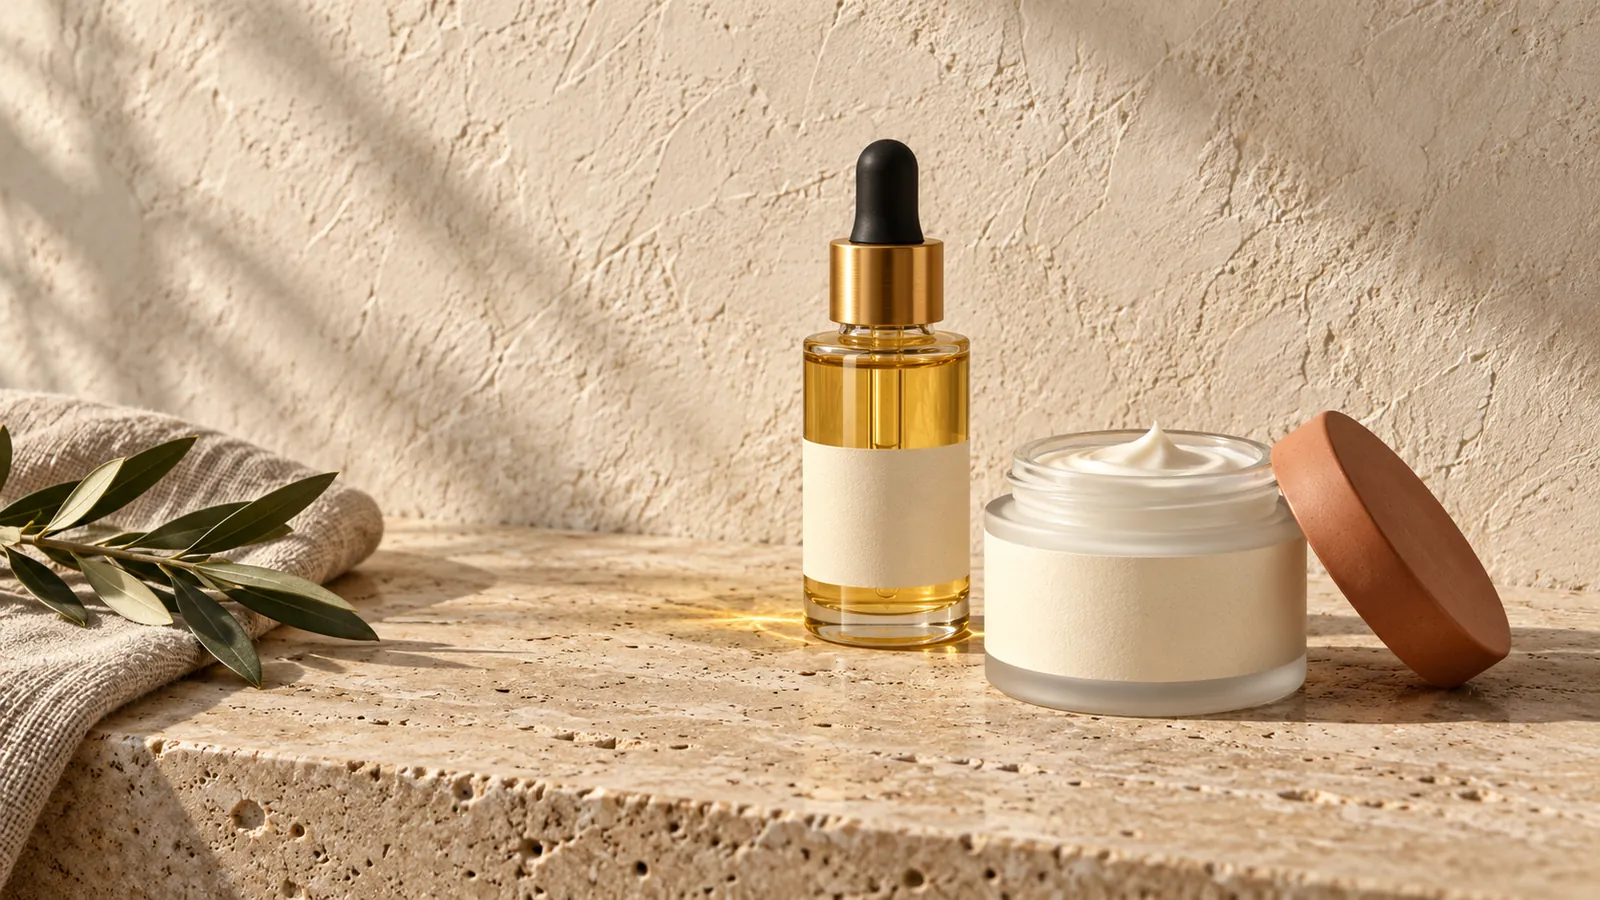
Beauty product photography is a set of photos that each prove one thing about your skincare or makeup: the pack, the formula or the true colour. Glass, liquids, creams and shades make it harder than shooting a mug. This guide gives you a shot list, light setups for glass and cream, a routine for true colour, and where AI helps.
What shots does a beauty listing need?
Plan the set before you shoot. Each photo should answer one question a buyer can't ask you in person. If two photos answer the same question, drop one.
The third column matters most in beauty. Buyers judge colour and texture from your photos, so any shot that proves the formula must be a real photo of the real product. AI can make the mood and scene shots. It should never make a swatch.
| Shot | What it proves | Real photo or AI? |
|---|---|---|
| Main image on white | Exactly what arrives: pack shape, cap, colour | Real photo. Cutting it out onto white is fine |
| Back of pack | Ingredient list, size and claims are readable | Real photo |
| Texture smear | Thick or runny, glossy or matte | Real photo only |
| Shade swatch | The exact colour of each shade | Real photo only |
| On skin | Finish on skin, how it blends | Real photo of the real product |
| Before and after | Results | Real photo only, and only results you can back up |
| In hand | Size | Real photo, or AI if you check the scale |
| Ingredient flat lay | What's inside | AI is fine if every ingredient shown is really in it |
| Mood or scene | Brand feel, where it lives | AI is fine |
| Range or set | Which shades or pieces come together | Real photo when colours matter |
You don't need every row. A single serum can work with six photos: main, back of pack, texture, in hand, flat lay and one scene. Add swatches and on-skin shots when you sell colour, such as foundation, lipstick or tinted SPF.
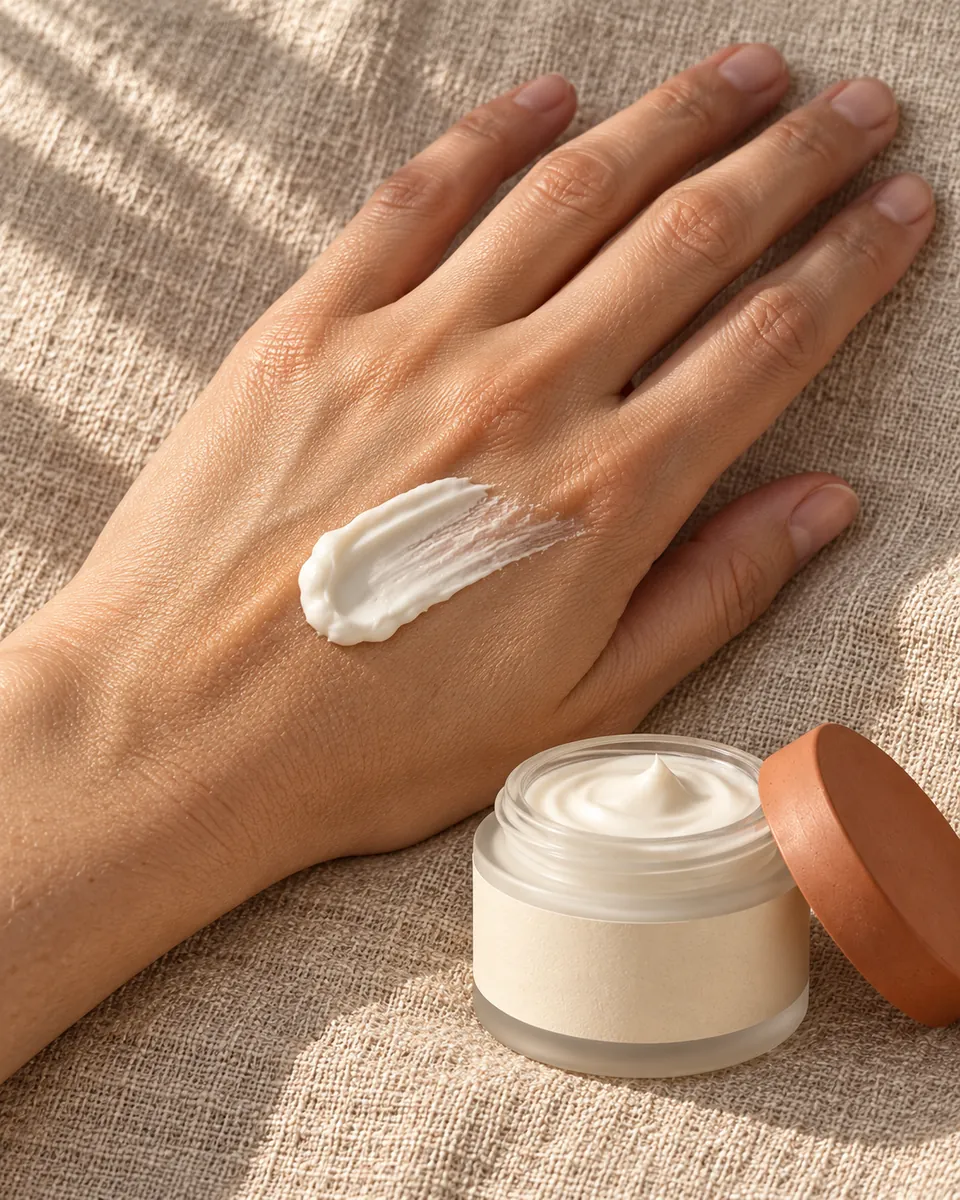 Texture on skin
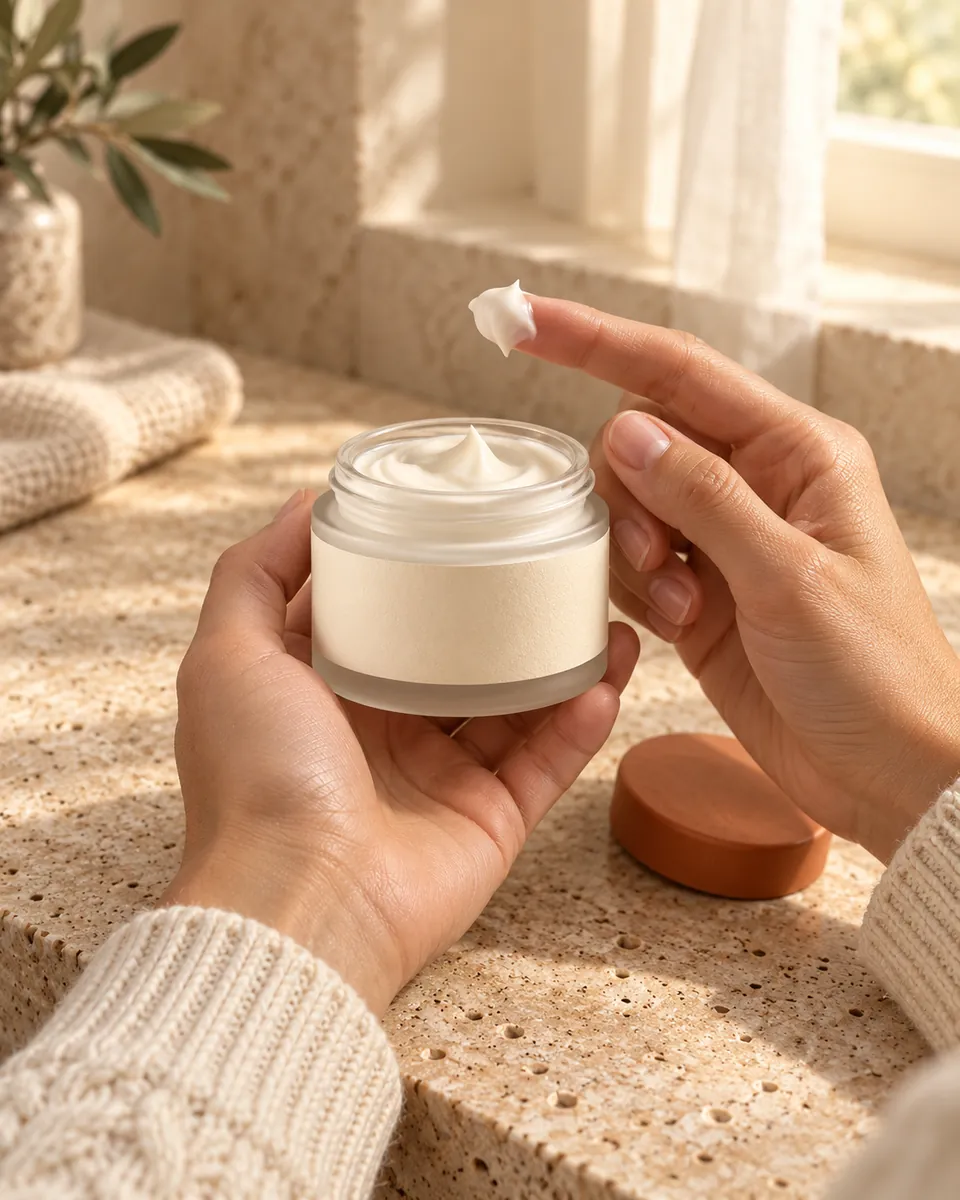 Hands with jar
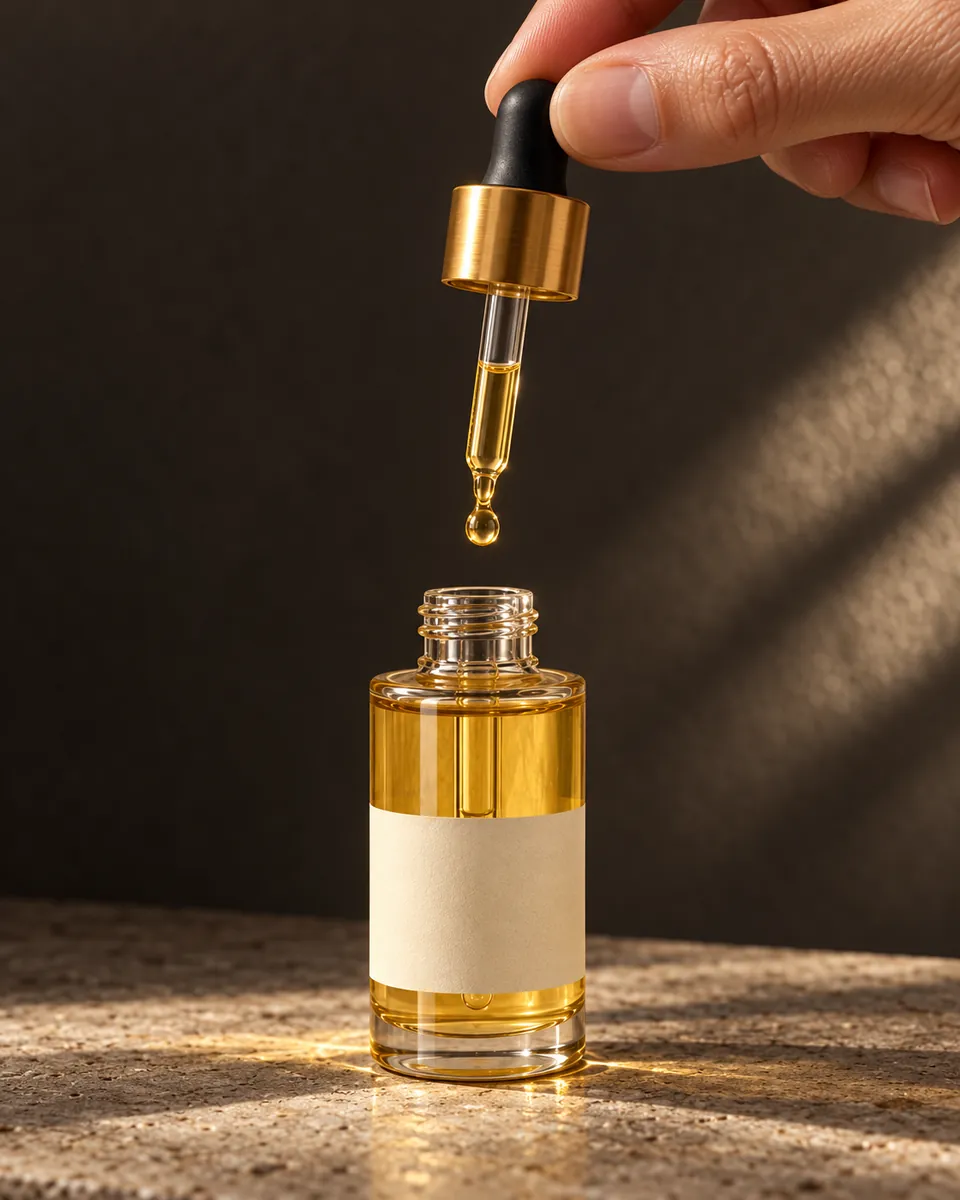 Dropper
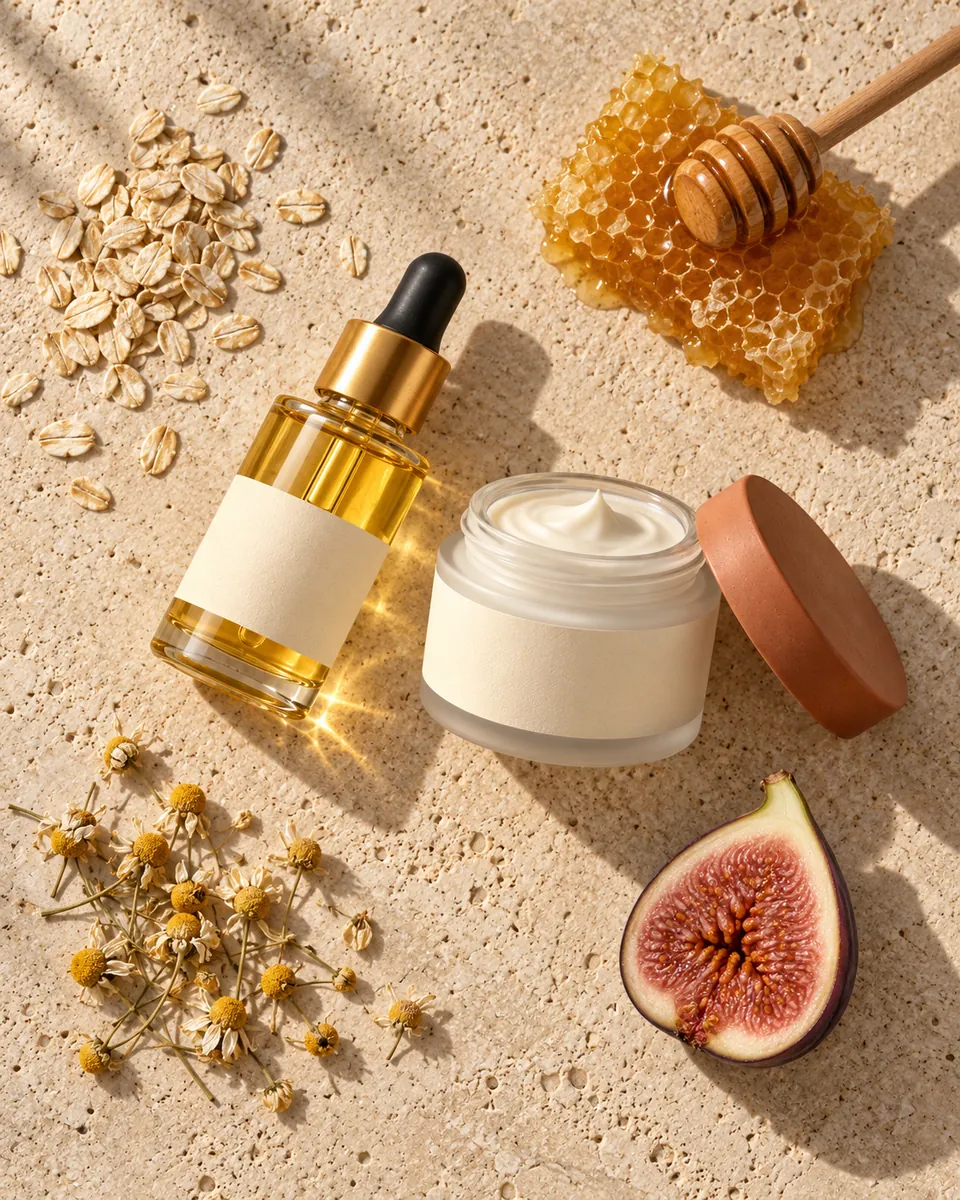 Flat lay
Each shot has a light that suits it. These come from common beauty setups:
- Texture on skin. Low side light from one direction, around 5000K daylight, so the ridges in the cream cast small shadows.
- Hands with a jar. Soft window light, warmer at about 3500K, for a calm, morning-ritual feel.
- Dropper. One hard light from the side and a dark background. The drop catches the light and the background stays dark.
- Flat lay. Shoot straight down, with sun from one corner and a white board opposite to lift the shadows.
How do you light glass bottles without glare?
Use one large, soft light close to the bottle, and switch off every other light in the room. Glass is a mirror. It shows every light source, window and lamp in the room. A big soft source turns into one clean, long highlight. A small bare source turns into hot white dots and glare across your label.
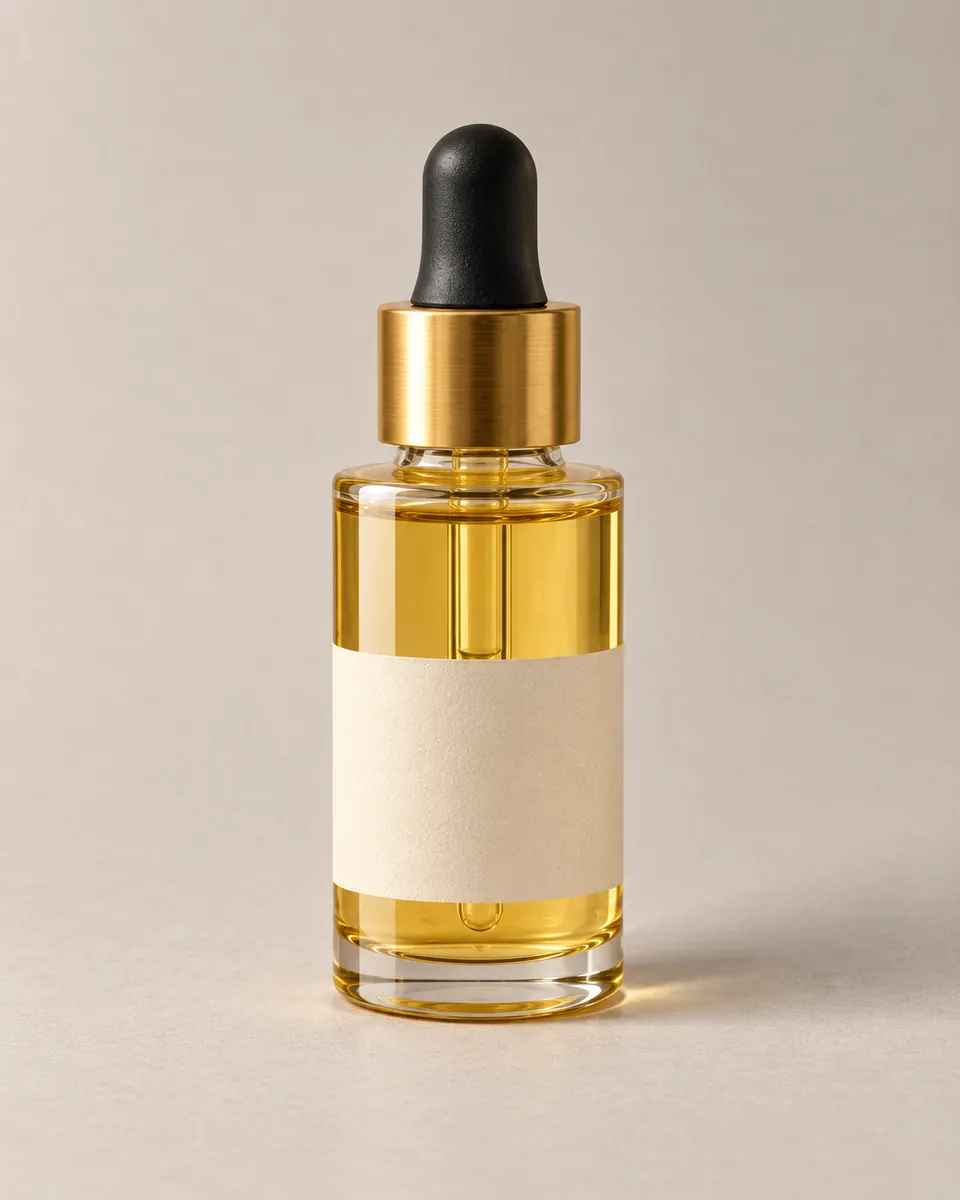 Large soft light
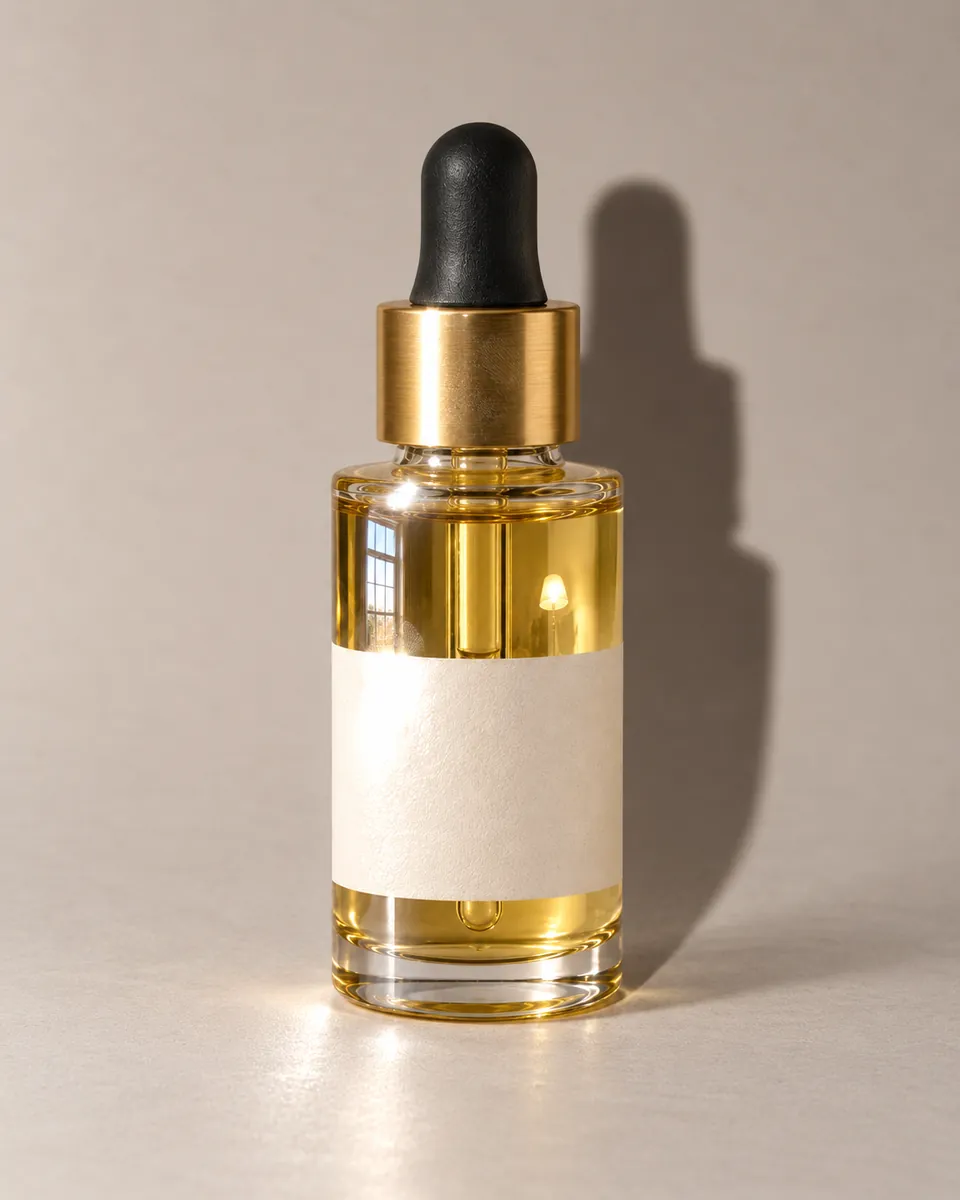 Small bare light
Here is a setup you can build at home:
- Pick the light. A north-facing window works, or a large softbox. Hang thin white fabric or baking paper over a sunny window to soften it.
- Place it to the side. Put the bottle 30 to 50 cm from the window, with the window at 90 degrees to the camera. The highlight then runs down one side, not across the label.
- Add a white board. Hold an A3 sheet of white foam board on the other side. It lifts the shadow side and draws a thin highlight on that edge.
- Kill the other lights. Switch off ceiling lights and lamps. Each one shows up as a reflection, and warm bulbs tint the glass.
- Clean the glass last. Wipe with a microfibre cloth and handle the bottle by the cap. Fingerprints show up clearly on glass.
Clear glass on white needs one more trick. Stand two strips of black card just outside the frame, one on each side. They reflect in the edges of the glass and draw a dark outline, so the bottle doesn't vanish into the background.
Metal caps and shiny tubes follow the same rules. If you see your phone or yourself in a cap, move back and zoom in a little. Shooting from further away shrinks the reflection.
How do you photograph cream, serum and other liquids?
Light texture from the side, and light colour from behind. That covers most formulas.
For creams, balms and gels, put the light low and to one side, so it grazes across the surface. Photographers call this raking light. Every peak and ridge gets a small shadow, and the texture appears. Light from the front fills those shadows in, and the cream turns into a flat white shape.
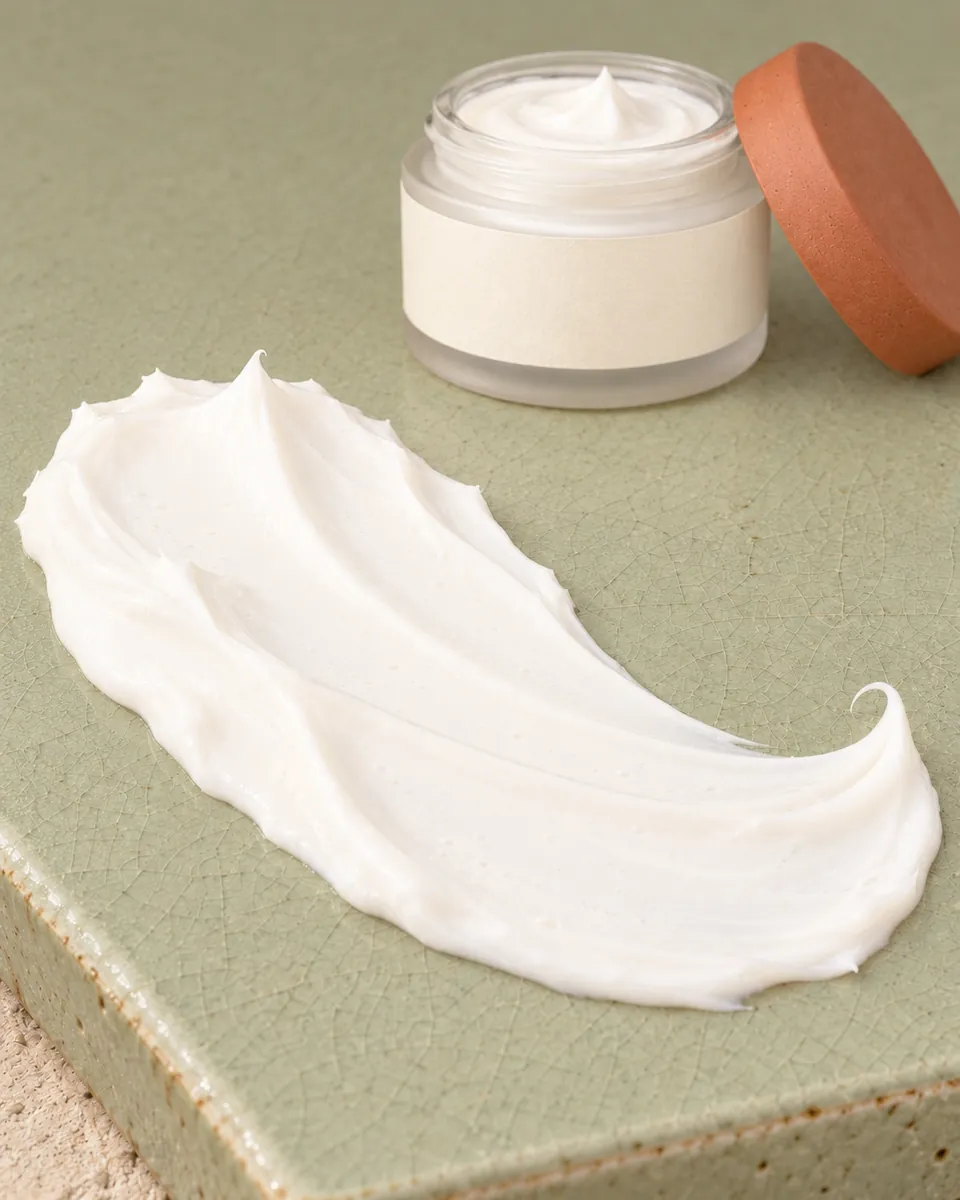 Front light
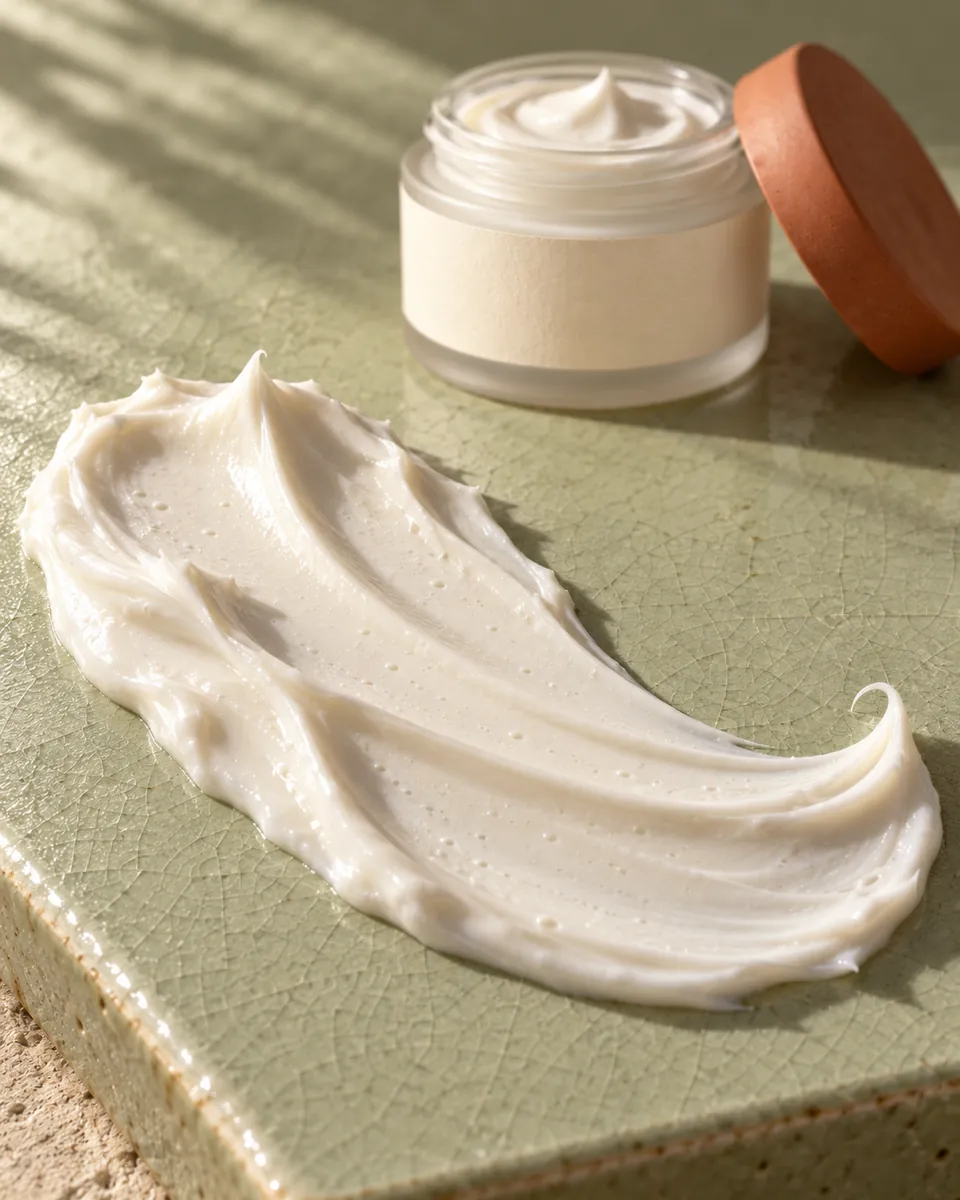 Side raking light
A few habits make texture shots easier:
- Use a spatula, not a finger, for the first smear. You control the shape and the ridges.
- Shoot within a minute. Many creams start to dry and lose their gloss soon after you spread them.
- Use a plain surface in a colour that contrasts with the formula. A white cream on white marble disappears.
- Shoot a smear and a dollop. The smear shows spread. The dollop shows thickness.
For serums, oils and toners, colour is the selling point. Place the light behind the bottle, or put a white card behind it to bounce window light through. The liquid then glows its true colour instead of looking dark. Fill the bottle to the shoulder and let bubbles settle before you shoot.
For a falling drop, use burst mode and keep the background dark. You'll get many frames, and one will catch the drop in the right place.
How do you keep shade colours true across a range?
Shoot every shade under the same light, with a grey card in the first frame. Then set the white balance from that card, and use the same correction on every photo in the set. This takes the camera's guesswork out of your colours.
Your phone guesses white balance for each photo. Put a pale shade and a deep shade in different frames, and it may guess differently. The same foundation can then look warmer in one photo than another. Buyers comparing shades can't tell your product from the camera's guess.
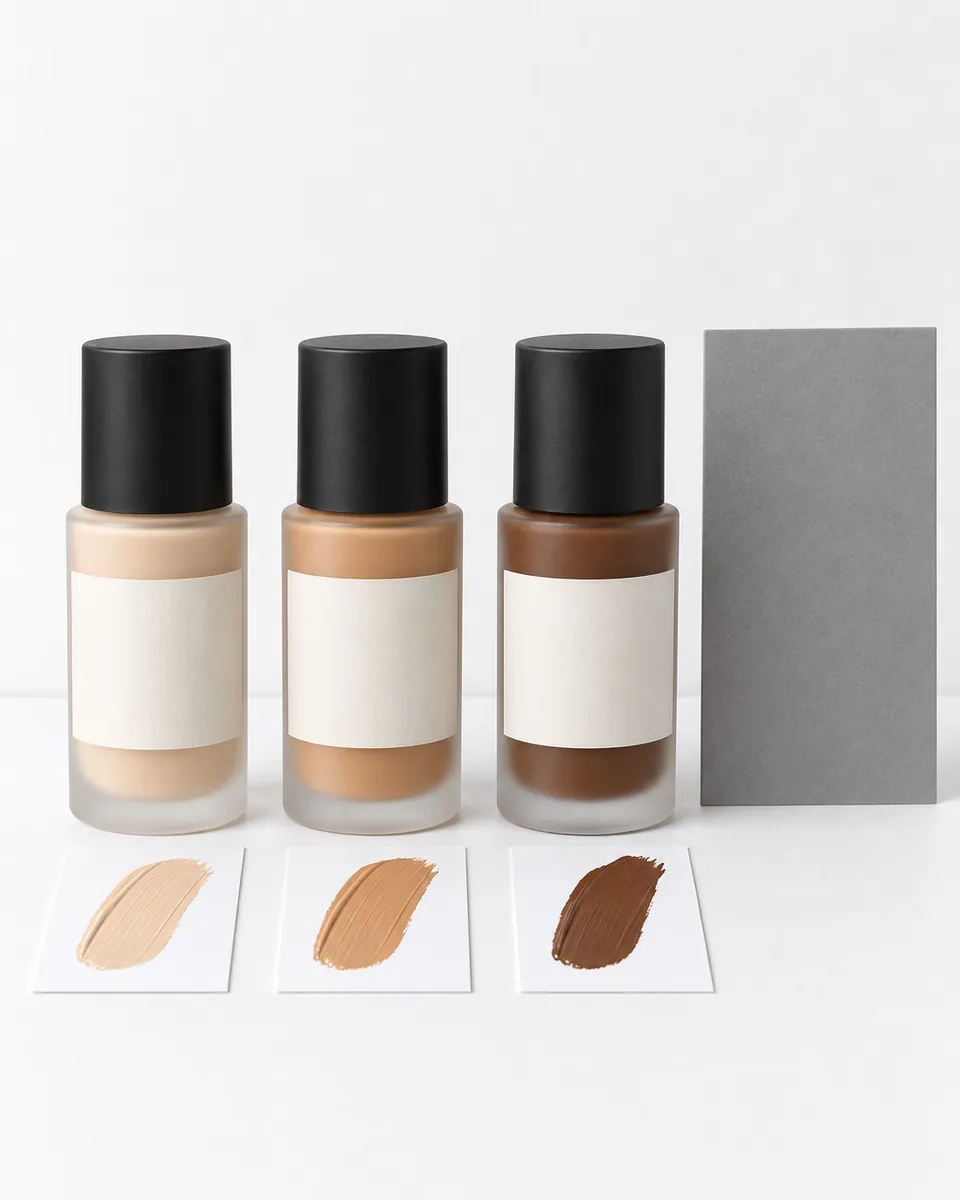 Neutral
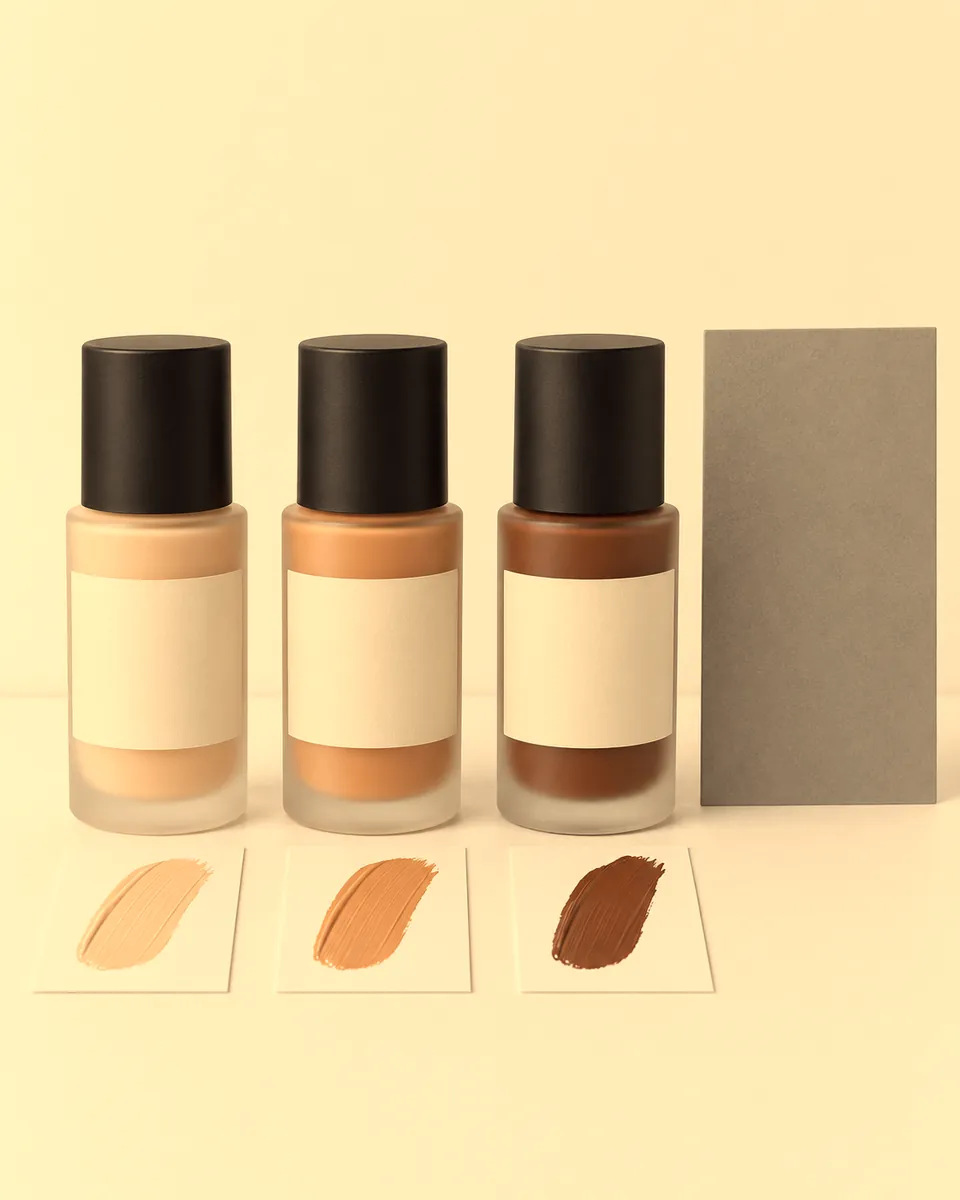 Warm cast
Follow this routine each time you shoot colour:
- Use one kind of light. Daylight from a window is roughly 5000 to 5500K. A household bulb is roughly 3000K. Mixing them gives you patches of orange.
- Keep the setup fixed. Same window, same time of day, same distance. Mark the product's spot with tape.
- Start with a grey card. Put a photographer's grey card in the first frame, next to the product.
- Correct from the card. In your editor, click the white-balance eyedropper on the grey card. Copy that setting to every photo from the session.
- Check against the real product. Hold the product next to your screen. If the photo and the product disagree, trust the product and fix the photo.
- Don't boost the colour. Skip filters, saturation and "vivid" modes on shade and swatch shots. They make the shade wrong.
When you sell several shades, shoot the swatches on more than one skin tone if you can. A shade that reads well on light skin can look very different on deep skin. Buyers want to see their own.
Where does AI fit in beauty product photography?
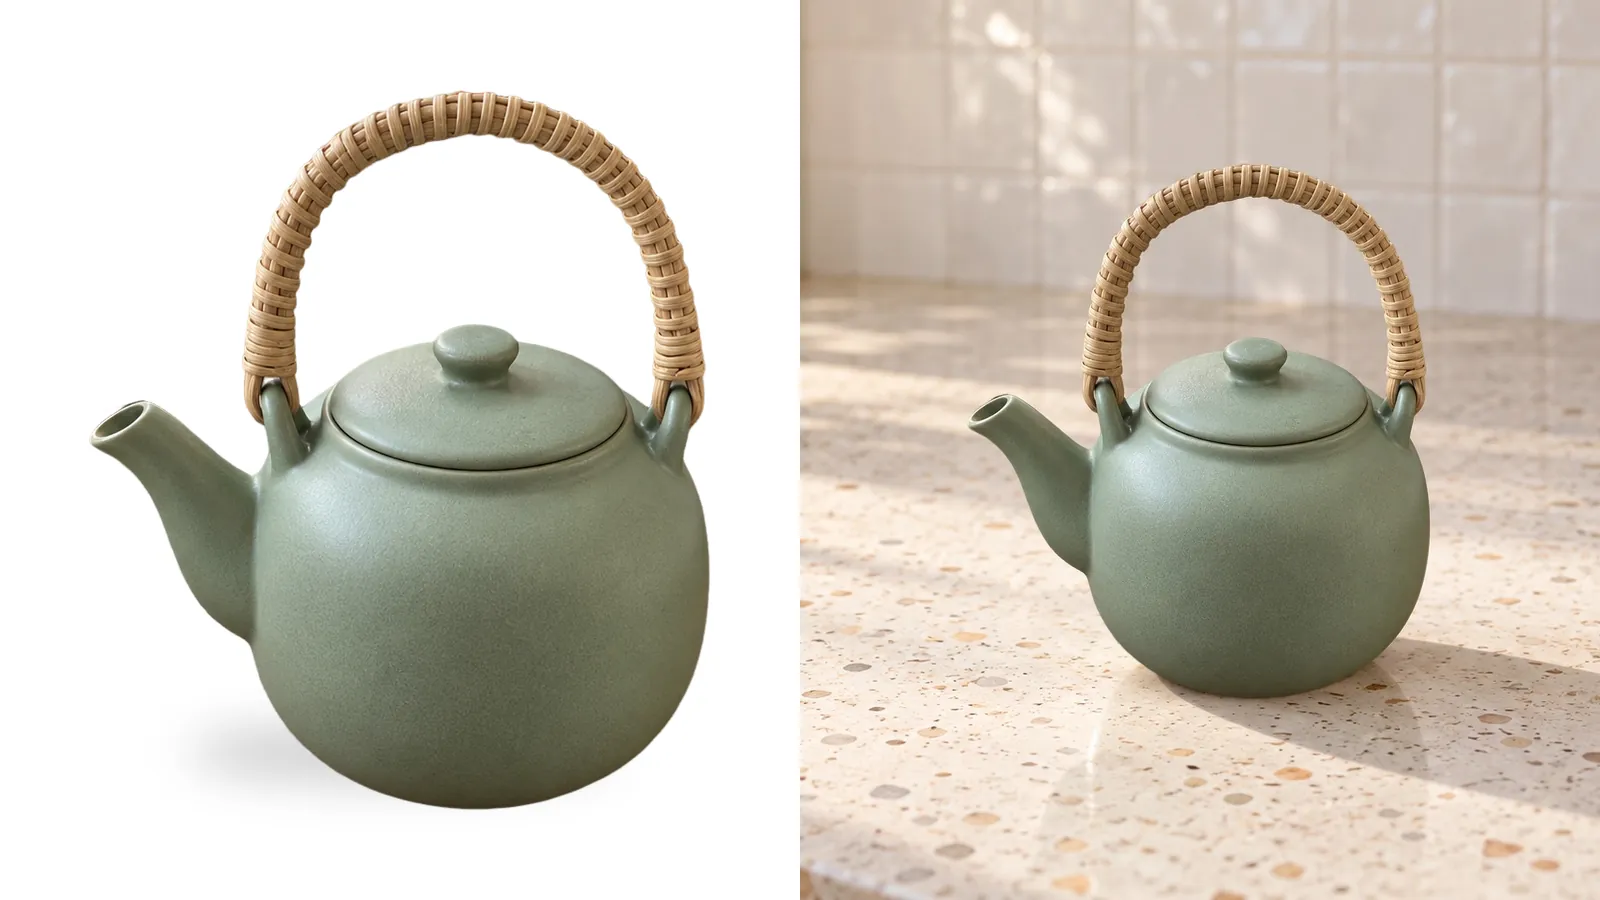
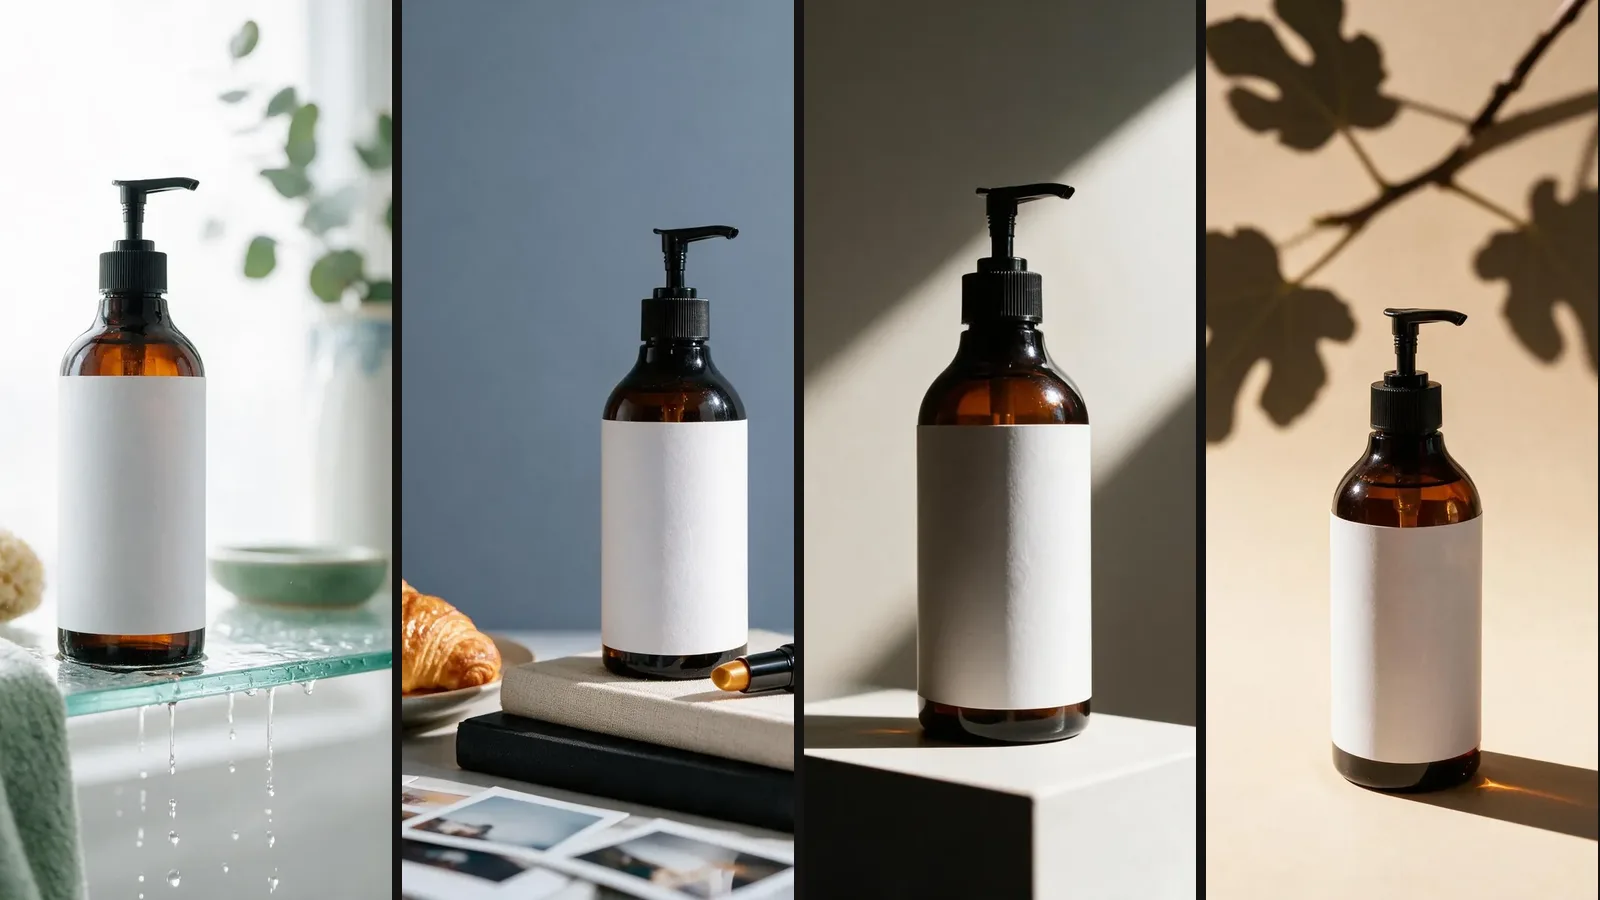
AI is good at the mood and scene shots. It can put one product photo into many settings without a new shoot. It shouldn't make anything that proves the formula. That means no texture, swatches, on-skin results or before-and-after shots.
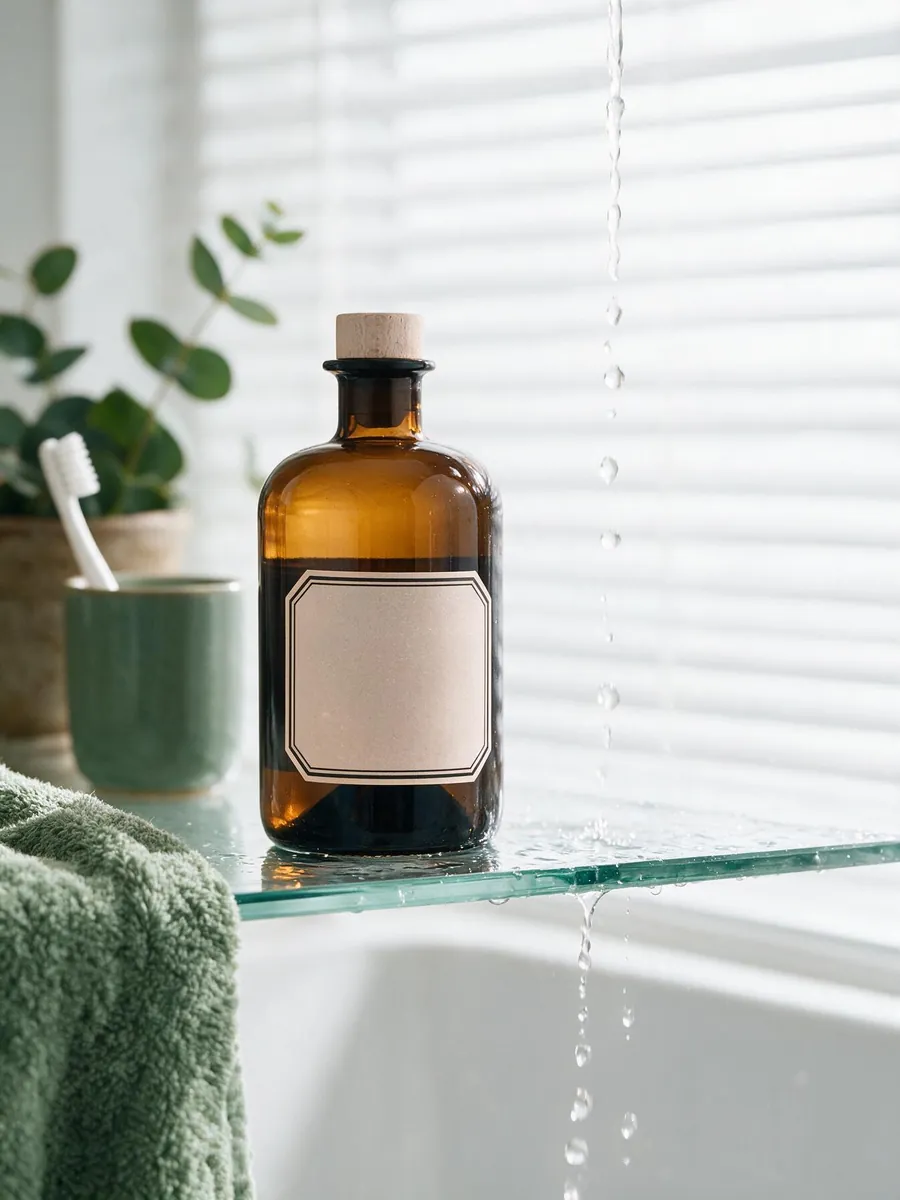
To make scene shots, start with one clean, well-lit photo of your product. Upload it to the AI product photo generator and pick a scene from its 150 templates. Each photo costs 30 credits, and new accounts get 100 free credits. Free-plan downloads carry a ShelfPic watermark, so use them to test looks, not on a live listing.
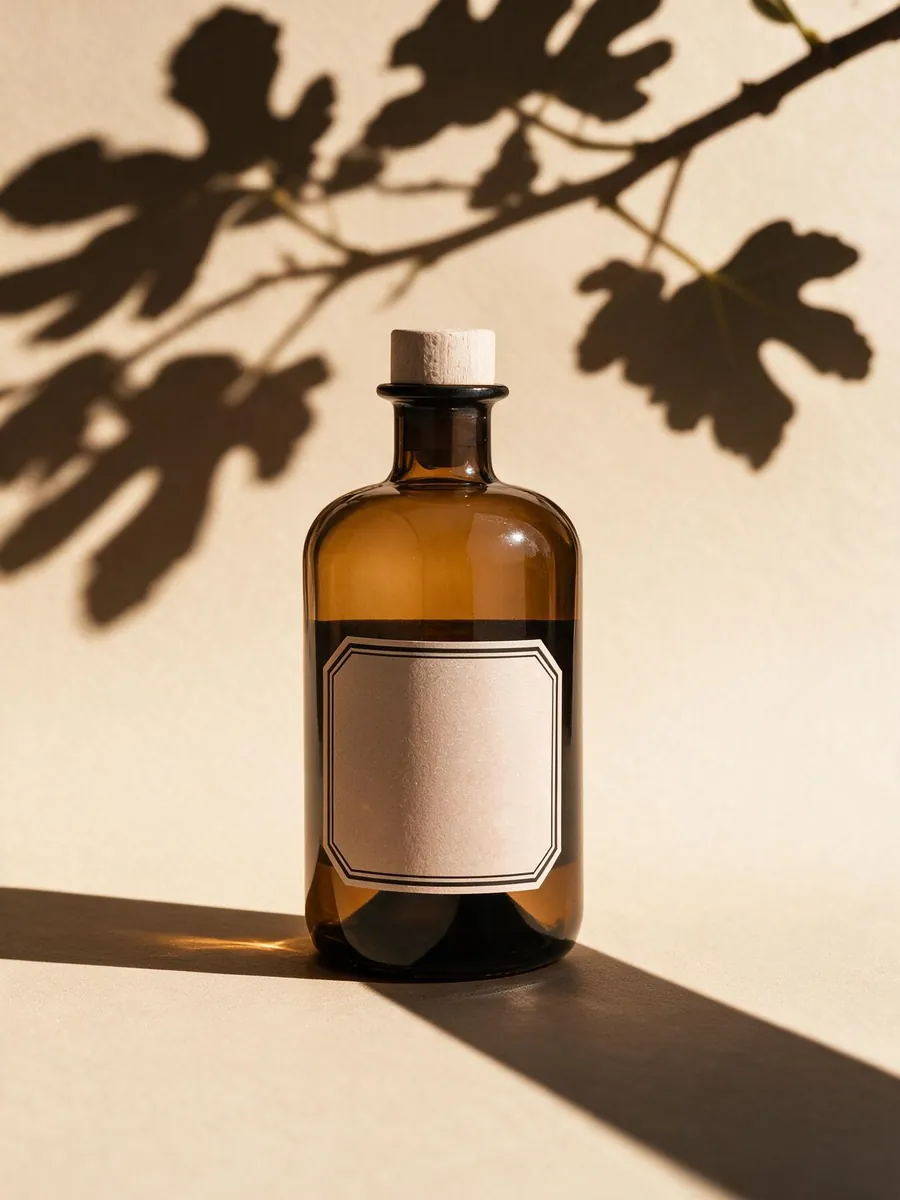 Leaf shadow
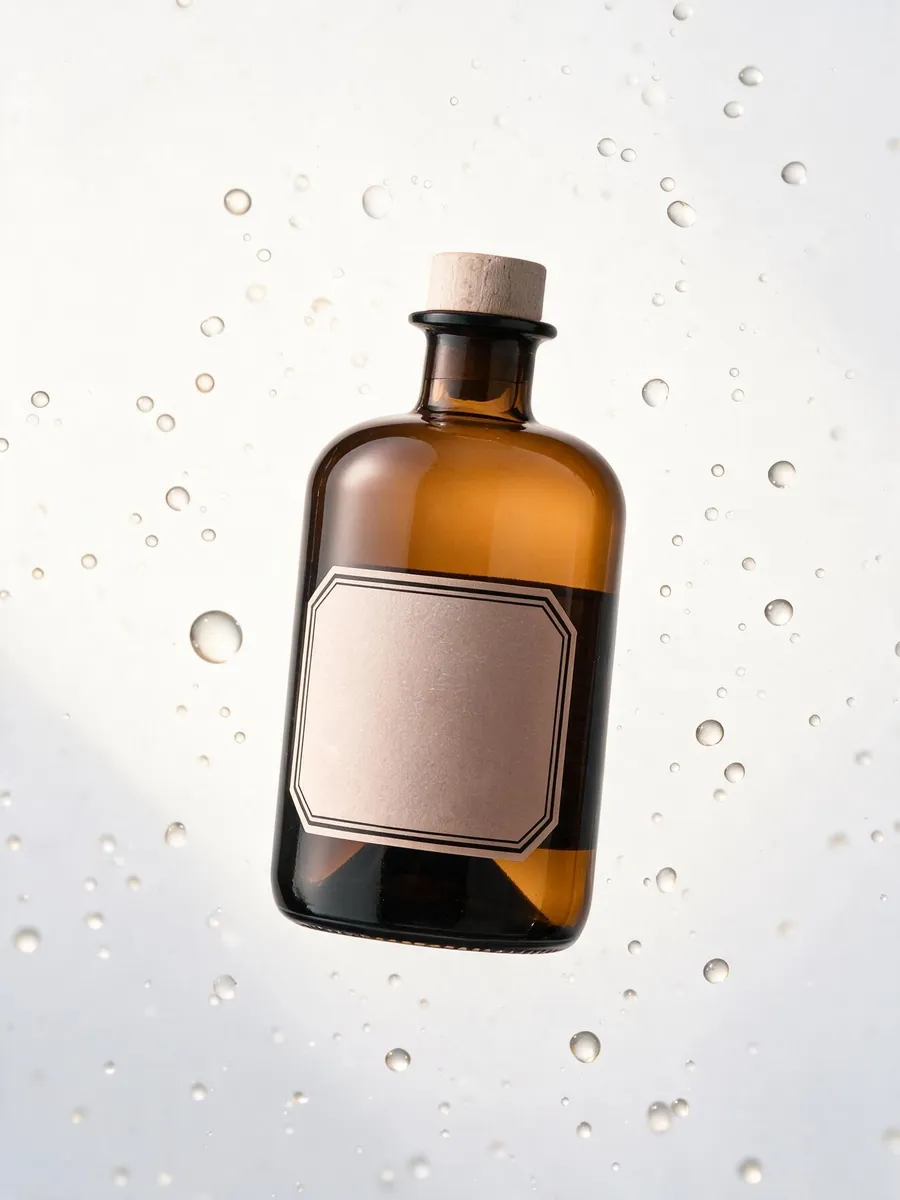 Droplets
 Bathroom
 Ice
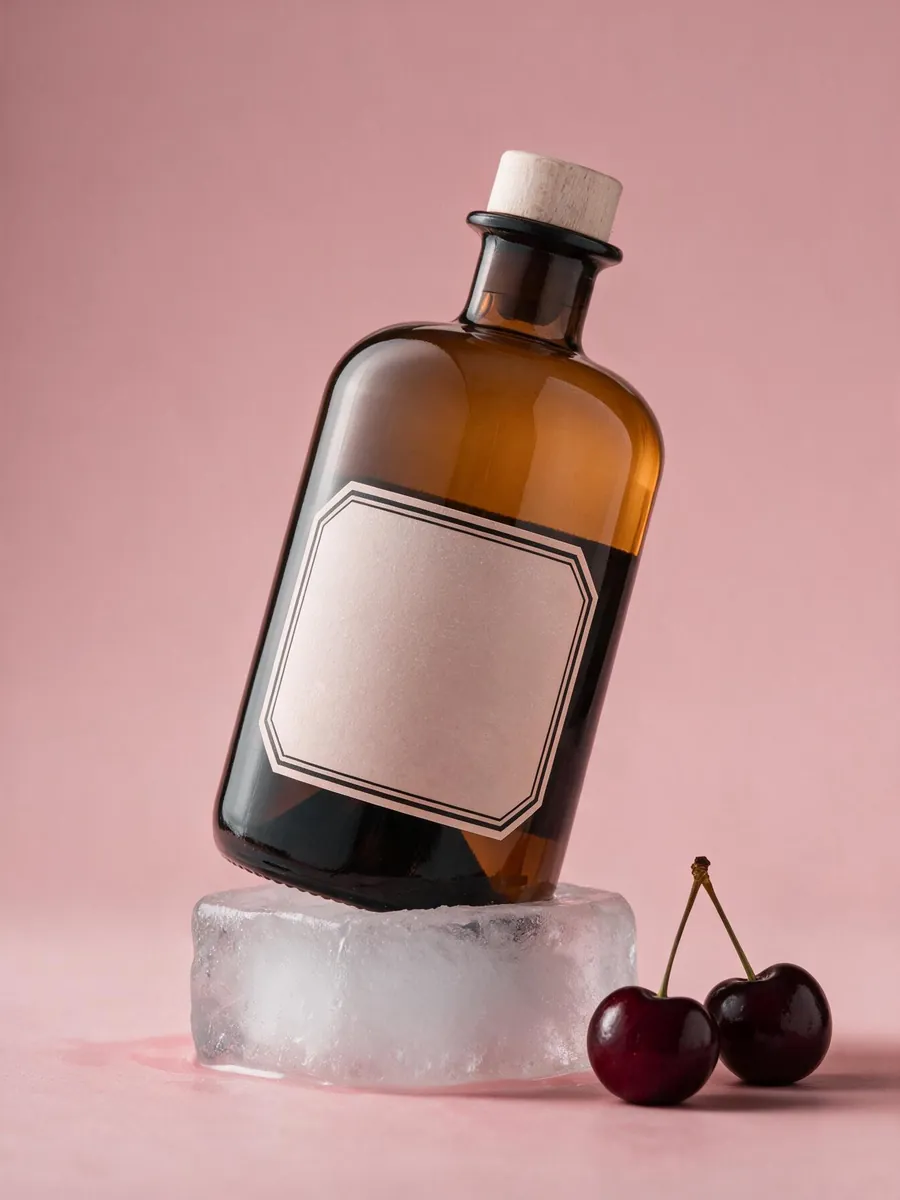
IceWatch the props in AI scenes, too. The cherries in the last scene suggest a cherry scent. If your product has none, pick another scene.
Then check every result against the real product. AI sometimes changes the very details buyers care about in beauty, such as the colour of the glass or the finish of a pump. Here is one bottle where a scene kept it and another changed it.
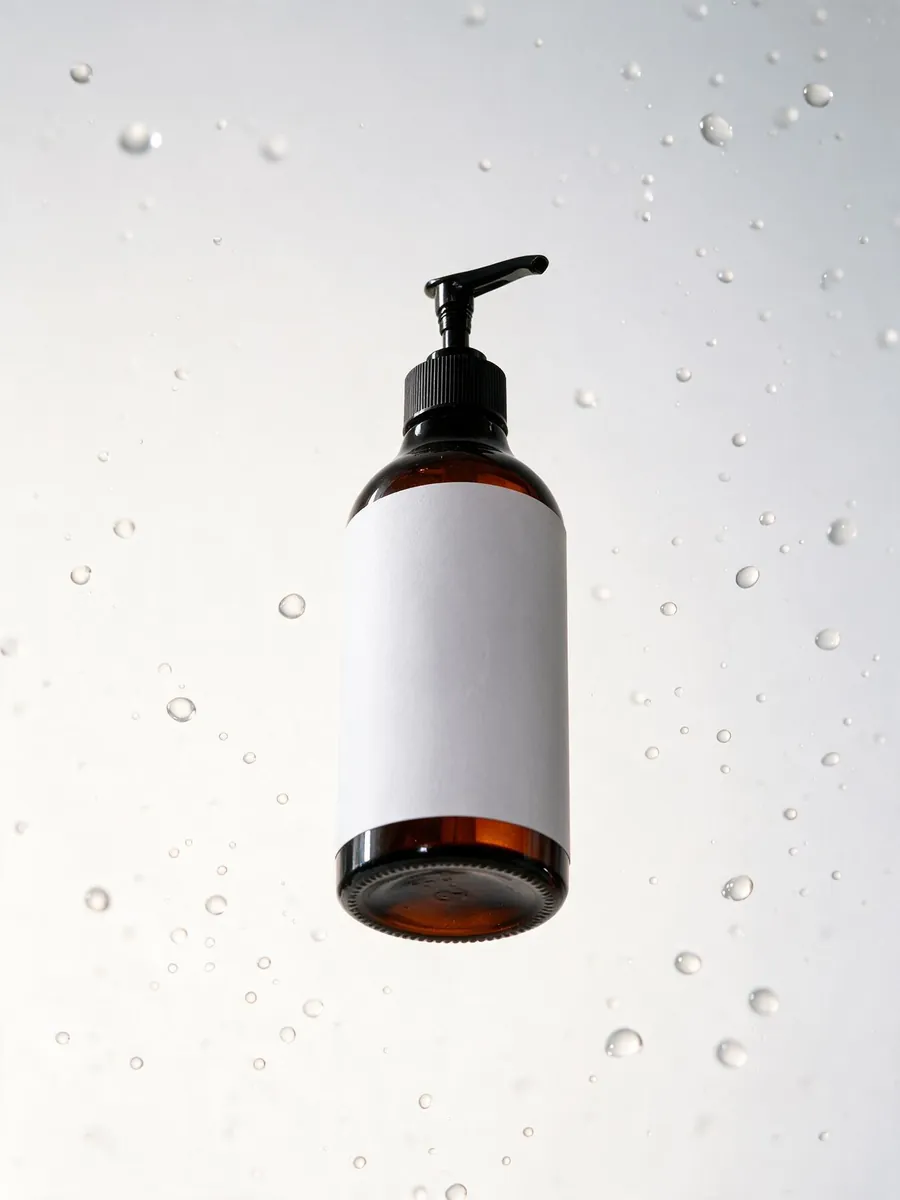 Kept intact
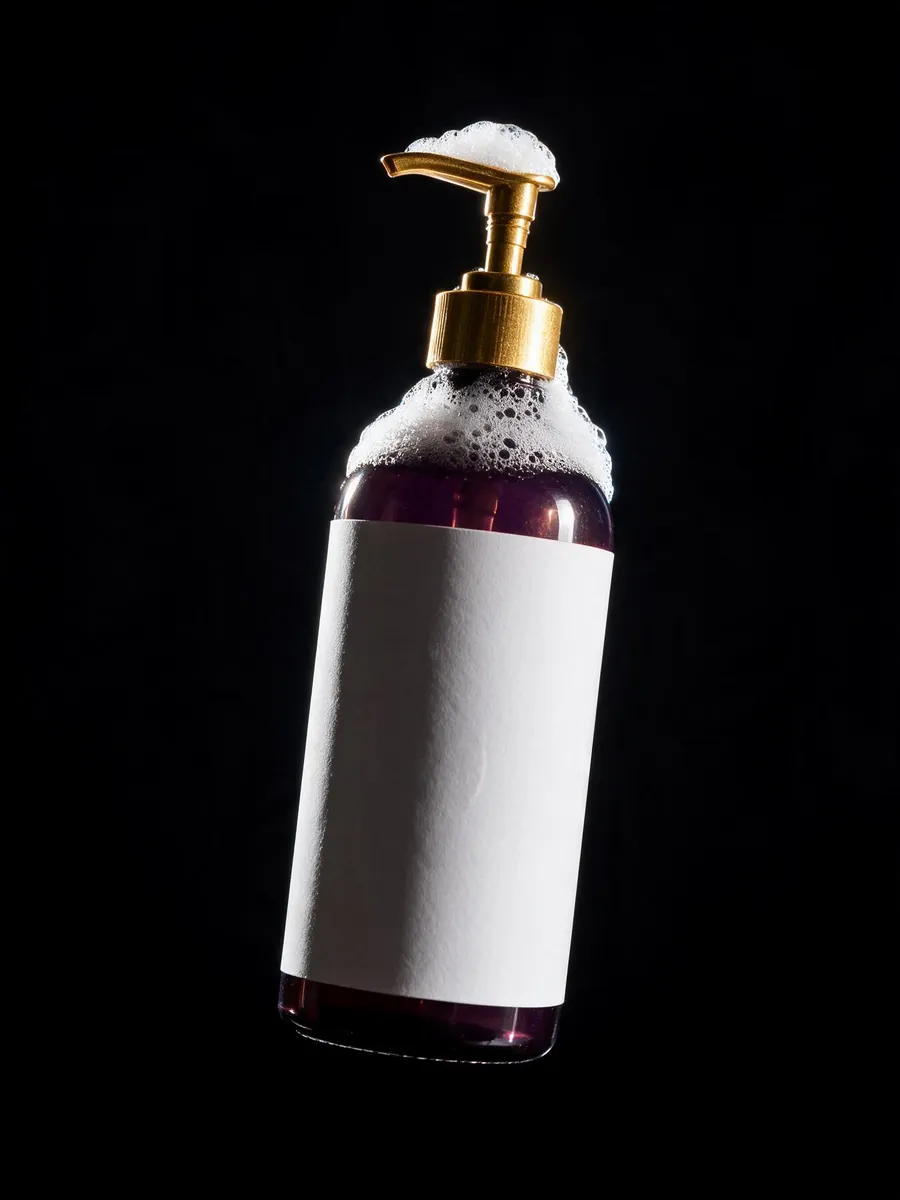 Changed
This is the reason swatches must stay real. If a scene can shift the colour of a bottle, it can shift a shade too. A buyer who orders the wrong shade from your photo may well send it back.
Check four things on every AI result before you publish it:
- Colour of the glass, cap, pump and formula.
- Label. Every word should match your real label, and a blank label should stay blank.
- Scale. A 30 ml dropper shouldn't look like a 200 ml bottle next to the props.
- Props that make claims. Fruit, flowers and herbs read as ingredients or scents.
The template library also has scenes that suit beauty products, such as hard-light studio sets, water and plant scenes.
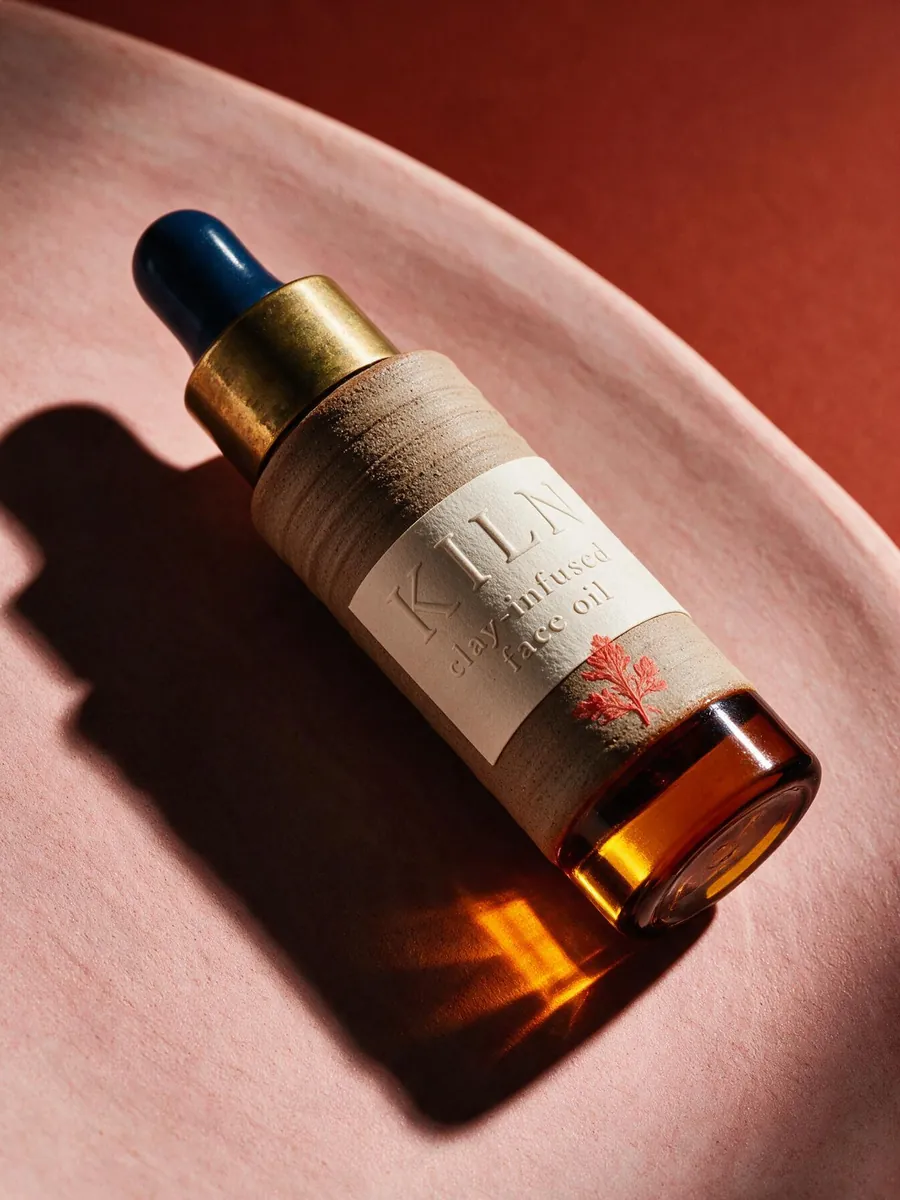 Studio
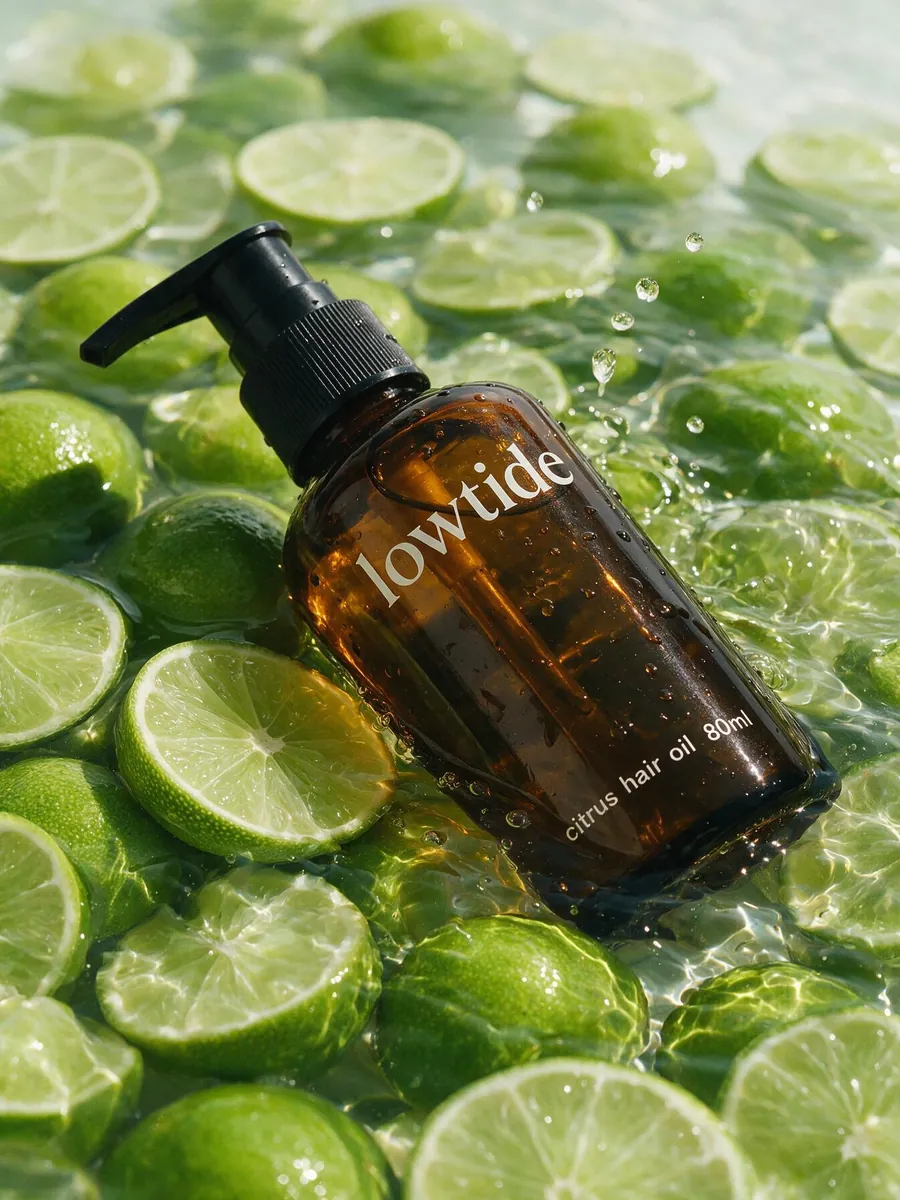 Water
Water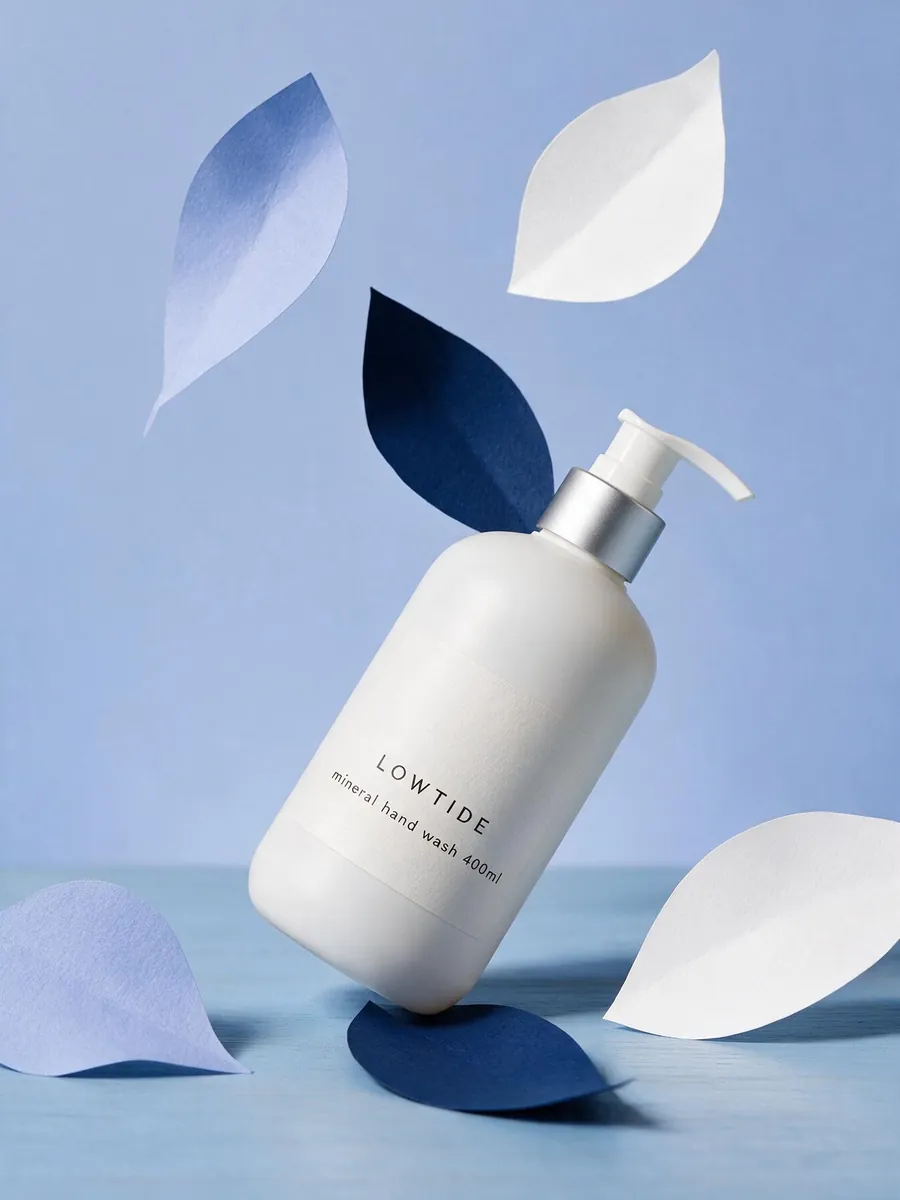 Botanical
AI isn't always the best route. If you sell three products and have a bright bathroom, shoot your scenes there. Our lifestyle product photography guide covers how to pick scenes and props for real rooms.
Why do my beauty product photos look wrong?
Most problems trace back to a few causes. Find yours in the first column.
| Problem | Likely cause | Fix |
|---|---|---|
| White spots and glare on the bottle | Small, bare light, or a light near the camera | Use one large soft light at the side and switch off the rest |
| You can see the room in the glass | Windows, lamps or you reflect in the curve | Close curtains on other windows, step back and zoom in |
| Clear bottle disappears on white | No contrast at the edges | Stand black card strips just outside the frame on both sides |
| Cream looks like a white blob | Light comes from the camera position | Move the light low and to one side |
| Serum looks dark or muddy | Light hits the front, not through the liquid | Put light or a white card behind the bottle |
| Shades look different across photos | Auto white balance changed between frames | Use a grey card and copy one correction to all photos |
| Everything looks orange | Ceiling bulbs mixed with daylight | Turn off room lights and shoot by the window only |
| Label text is soft | Focus landed on the cap or the background | Tap the label to focus, and lock focus before you shoot |
For more on light direction, read our product photography lighting guide.
FAQ
Can I use AI for swatch and texture photos?
No. Swatches, texture smears and on-skin shots are how buyers judge the formula. They need to be real photos of the real product. Use AI for mood, scene and flat-lay shots, and check each one for colour.
What background is best for beauty product photos?
Pure white for the main image. Amazon's product image guide requires RGB 255, 255, 255 and asks for the product to fill 85% of the image. We checked this on October 5, 2026, and our Amazon image requirements guide has the rest. Gallery shots can use stone, tile or colour, as long as the product stays the strongest colour.
Do I need a macro lens for texture shots?
No. Many phones have a close-focus or macro mode, and that is enough for a cream smear. Move in until the smear fills about half the frame. Keep the light low and to the side, which matters more than the lens.
How do I photograph a clear glass bottle on a white background?
Use soft light from the side and two strips of black card just outside the frame. The black reflects in the edges of the glass and outlines the bottle. Background removal is harder with clear glass, so shoot it on white from the start.
Start free
Turn your next photo into a listing-ready shot.
Upload any product photo and get studio-quality visuals in seconds — no studio, no shoot day.
Try ShelfPic free