What is a UGC video? 3 video examples and a beginner guide
Watch three UGC-style product video examples, choose a format for your available assets, and plan your first clip with a copyable unboxing brief and script.
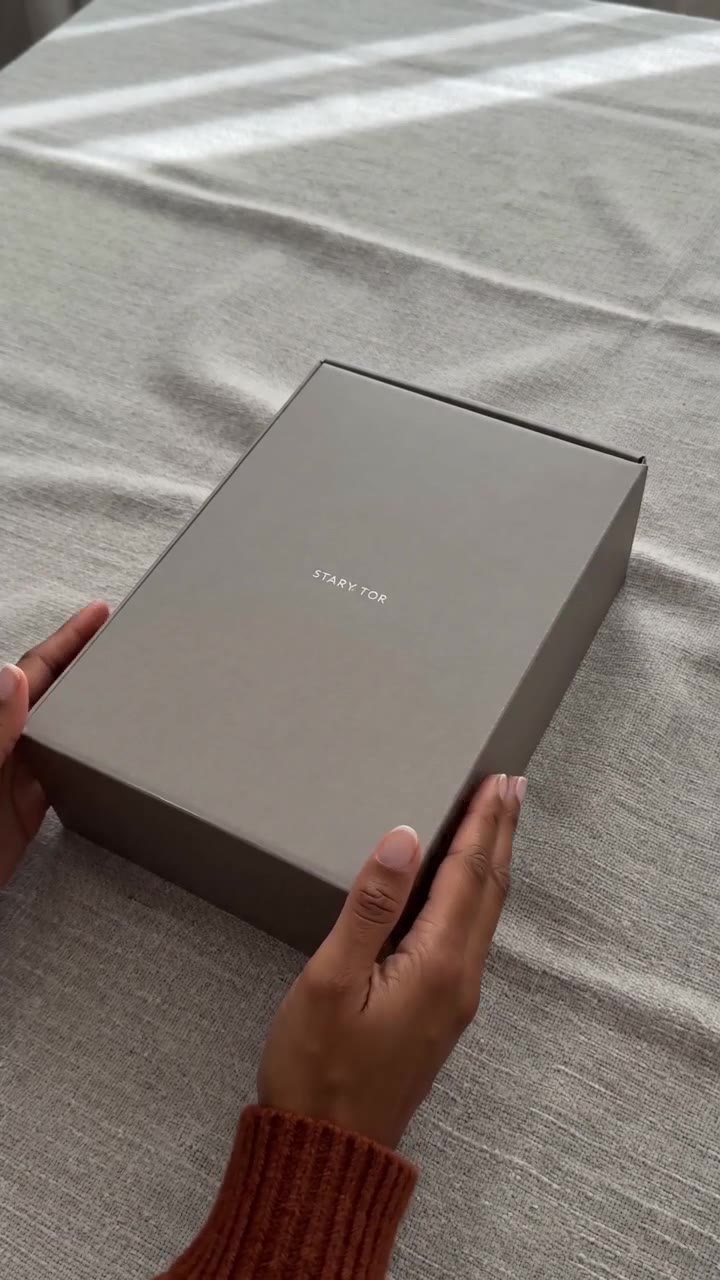
UGC stands for user-generated content. A UGC video is a video a user creates about a product or experience. A customer filming an unboxing or showing what fits inside a bag is making UGC.
Marketers also use the term for conversational videos commissioned from creators. AI can produce a similar style, but generated people and scenes are not real customer experiences. This guide calls that brand creative UGC-style video.
Not sure where to start with your first product video? Watch the three examples below and pick one you have the photos or footage for. Then try the tumbler unboxing script with your own product details.
Updated September 9, 2026. These are AI-generated previews from ShelfPic's template library, not real customer reviews. Videos start muted; you can turn on the sound. The sample lines in this guide are writing exercises, not transcripts of the previews.
Three videos, three techniques to try
1. When you mention a detail, show it
It's easy to leave a presenter talking to the camera for the whole video. Try giving one line a close-up instead: show the pocket when you mention the pocket, or the lid when you explain the lid.
The record player example below mixes presenter shots with product details. Watch how it moves from the person to the tonearm and case, then back again.
Template preview: Record Player Review.
For your own script, choose one detail worth a closer look and write a line about it. For a bag with an inside pocket, that could be:
Line: “There's a little pocket inside, too.”
Shot: Open the bag and show where the pocket is.
Watch it once with the sound off. Can you see the detail the line refers to? If not, move closer or change the angle. Include a clear photo of that detail in your references, too; a front view of the product won't explain its internal structure.
2. Use an unboxing to show what's included
Someone buying a gift set may want a clear look at what's in the box. Follow the opening process: unwrap it, take out the product, then show the accessories.
In the tumbler example below, watch how the cup and straw get their own moments on screen. You can use that sequence for your own set.
Template preview: Tumbler Gift Set Unboxing.
For your own version, let the line follow your hands: “Here's the cup, and there's a straw tucked beside it.” At the end, you can arrange everything together and hold the shot for a moment so the viewer can see the full set.
Check your actual set before writing. Photograph the open box with all its contents laid out. It gives you a checklist and the video model a reference. A front-facing cup photo doesn't show what comes in its packaging. We'll use this example for the full script exercise below.
3. Give each action room to be understood
How do you assemble the stand, adjust the strap, or open the lid? A demonstration can make those steps easier to follow. Choose one for your first video.
The oven example below includes a presenter, controls, a tray, and food. Study how separate shots show parts of the process.
Template preview: Retro Oven Tutorial. Generated food footage cannot establish actual cooking performance.
Replace a vague line like “It's easy to open” with the action itself. If your box has a clip that releases the lid, you might split it into two shots:
“Pull this clip out.” — A close-up of the clip releasing.
“Then lift the lid.” — Follow the lid as it opens.
Pause at the important action. Does a hand hide the clip? Can the viewer tell which direction to pull? Add a closer view if that detail is hard to see. Use real footage when you need to demonstrate actual operation or performance.
Which format should you try first?
Look at the photos and footage you already have before choosing a format.
| What you have | A useful starting point | What to add or check |
|---|---|---|
| Product image, presenter material, and one clear message | Presenter introduction | Detail references that support the spoken line |
| Product, packaging, and accessory images | Unboxing | Make sure quantities match the actual set |
| Access to real footage of the product in use | Demonstration | A short script containing only necessary actions |
| One front-facing product image | Simple product showcase, or prepare more references | Unboxing needs packaging; an instructional video needs evidence of the action |
Only have one product photo? A simple showcase is a useful place to start. Let shoppers get a clear look at the item. You can try a presenter or more complicated actions in your next clip.
Let's write a tumbler unboxing script
For this exercise, imagine a tumbler gift set that includes a lid and straw. This video answers one question: what will the buyer find when they open the box?
Take two photos: one of the closed box, and one with it open so the cup and accessories are easy to see. Here's the template's reference image to give you an idea of what to show.
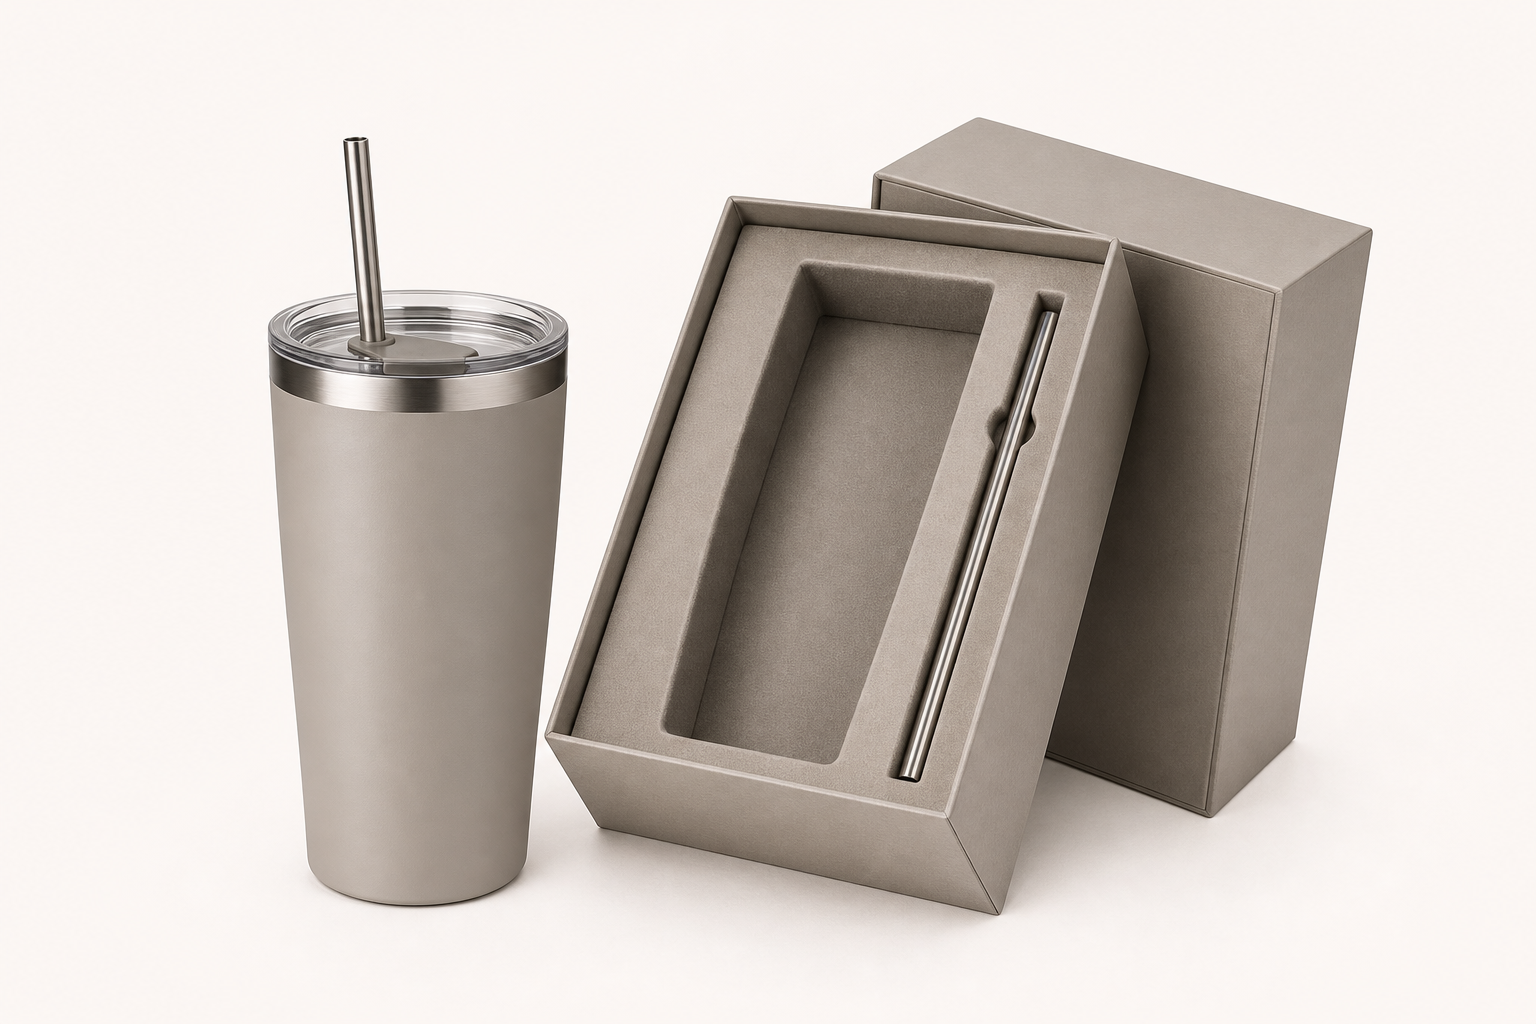
Use photos of your own product and packaging when you make your version.
Step 1: Write down what you want to show
Product: [name and exact model]
What this video shows: opening the gift box and looking inside.
What's in the box: [list the actual contents]
One detail to show up close: [the lid, straw, or another visible detail]
Framing: overhead tabletop; hands, packaging, product, and accessories only.
Sequence: open the box → reveal the contents → show one detail close-up.
Keep unchanged: product color, label, packaging shape, and accessory count.
Exclude: unprovided accessories, invented personal experience, unverified claims.
Ending: arrange the cup and accessories together so the viewer can see the full set.
Step 2: Write three lines before adding shots
Use the three lines below as a starting point. How much you say will depend on the actions you show and the length of your clip.
| Part | Shot's job | Example line |
|---|---|---|
| Opening | Pick up the box and start opening it | “Let's open this up and see what's inside.” |
| Middle | Show the lid, then pick up the straw | “Here's the lid, and it comes with a straw too.” |
| Ending | Lay out the cup and accessories | “That's everything in the box.” |
If you're talking to someone shopping for a gift, try “Thinking of giving this as a gift? Here's what's inside.” If shoppers keep asking about the straw, start with “Does it come with a straw? Let's check.” Pick one opening; you don't need all three.
For a very short clip, “Let's see what comes in the box” may be all you need to say. Let the pictures do the rest. You don't have to end with “Buy now”—laying everything out and holding the shot for a moment can be enough.
Read the lines aloud while following the planned shots. If the cup is already out while you're still delivering the introduction, shorten the opening to “Let's open it up.” If you have to rush a line, cut what the picture already explains and leave time for the action.
Step 3: Pick a template and add your product
Open Product Shorts, ShelfPic's product video tool, and choose an unboxing format. The example here is named Tumbler Gift Set Unboxing. The library can change, so check the actual preview and input requirements when selecting a template.
Upload your product, packaging, and any other references the template requires. Then read the script. Replacing the image is not enough if the text still describes the sample's accessories. When using automatic product adaptation, inspect any adapted script the tool provides; if it does not match your product, edit it manually before generating.
Set the duration, aspect ratio, and quality, then check the total credits on the generation button. Allow for revisions in your budget; the pricing page explains current rates. The video embedded above is an existing template preview, not a new generation of the rewritten script in this guide.
Step 4: Watch it back and fix what looks wrong
| What went wrong? | What to change first |
|---|---|
| Speech continues when the clip ends | Remove the second selling point and keep one central line |
| The product appears too late | Explicitly put the product or packaging in the opening shot |
| The accessory count is wrong | Add a clear open-box reference, list the contents, and reduce cuts |
| The label or product shape changes | Use a clearer reference and less rotation; reject the result if it remains inaccurate |
| Hands or the opening action look unnatural | Simplify to one action, or use real unboxing footage |
| The picture and voice explain different things | Give each line one matching shot; remove the mismatched line first |
Fix the most obvious problem first and see whether the next version is better. If you change the script, camera movement, and background all at once, it's harder to tell which change helped.
UGC video FAQ
Does a UGC video need a face?
No. Hands opening a package, someone showing a product in use, or a screen recording can all explain something useful. Whether a customer made the video is a separate question from whether their face appears.
What is the difference between a UGC creator and an influencer?
You can pay someone to make a video for your store or ads. You can also pay them to post it on their own account, where their followers will see it. Those are two different services, and you can agree on both in the same project.
Can I use a customer's public video in an ad?
A public post does not automatically give your brand advertising rights. Confirm channels, editing, and duration. TikTok's Content Suite documentation also treats finding content and requesting creator authorization as separate steps. To run a creator's post under their own name, see Spark Ads and partnership ads in our guide to UGC ads.
Can an AI presenter say “I've used this”?
Do not invent a personal experience. Real creators' commercial relationships also need appropriate disclosure. For US advertising, see the FTC's guidance on disclosing connections and reviews and testimonials.
Your first video doesn't need every selling point. Pick one question a shopper might ask, get your photos ready, and open Product Shorts to try it.
Start free
Turn your next photo into a listing-ready shot.
Upload any product photo and get studio-quality visuals in seconds — no studio, no shoot day.
Try ShelfPic free